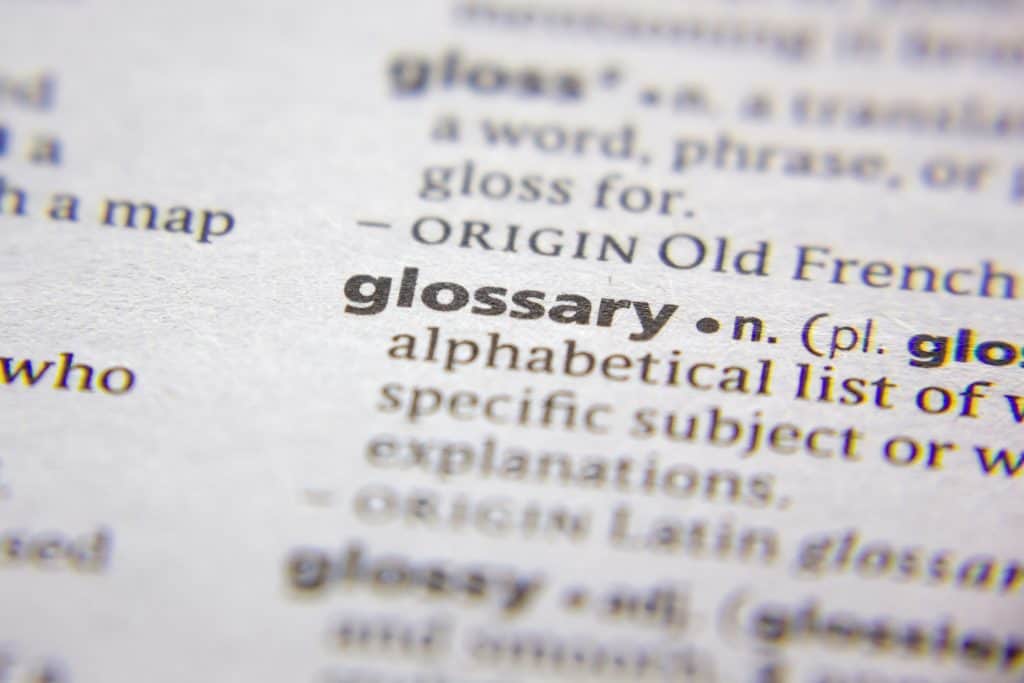
We’ve put together a handy list of video terms we use all the time.
After Effects is a piece of Adobe software that we use when creating animated videos. It’s also great for advanced post production techniques like rotoscoping, motion tracking and chroma keying.
Animation describes any video that gives movement and life to inanimate objects, including cartoons, stop-motion, hand-drawn, motion graphics 3D and character animation.
Aspect Ratio is the width and height of a video expressed as a ratio. The most common ratio we work with is 16:9 (HD) but you’ll also be familiar with 4:3 (think CRT tellys) and there is an increasing need for 1:1 (square videos) which work best for social media.

Boom microphones are the long mics attached to boom poles in behind the scenes footage or on the news. They are highly directional which means they only pick up sound from the direction they are pointing in.

B-roll/Cutaway footage is extra footage that provides context and detail to the main video. We use b-roll during interviews to give the viewer a break from the talking head and also to add greater flexibility to the edit.
Chroma key or green screen is using a bold, bright colour such as blue or green in recorded footage and then later removing it in post production.
Close Up is a shot in which the frame is mostly filled by the subject’s face. They are used to show facial expressions, reactions and help build empathy with the viewer.
Colour Correction is the process of correcting the colours in the footage in post production to make them as close to the real environment as possible.
Colour Temperature is one of the characteristics of visible light – ranging from cool to warm. Cool temperatures appear blueish and feel cold, where as a warm colour temperature has orange hues and gives the impression of heat. Lots of professional lighting kit has an adjustable colour temperature, and you can also adjust this on the camera in the White Balance setting.
Compositing is the combination of multiple layers of imagery in post production software. This could be layers of film, or it could comprise of layers of film, vector graphics, text and photographs.
Depth of field is the amount of your shot that is in focus – a deep depth of field will show almost everything in your frame in sharp focus, no matter how far away or close up it is. A shallow depth of field means a narrow distance range will be in sharp focus, meaning more emphasis is placed on the subject.

DSLR stands for Digital Single Lens Reflex and is a type of camera. We occasionally use a Canon 5D mark iii for some of our film work.
Editing is the process of cutting together the footage to create the narrative. The edit is very important as the audience will see the footage that the editor has decided to keep. For example, in a typical corporate video a day of filming will ultimately only be around 2 – 3 minutes of edited footage.
Export is the process of turning a specialised video project into a single video file that can be played back in any programme, uploaded online and shared.
Frame rate is how many images are captured during one second of video. The most commonly used frame rates are 24, 25, 30, 50 & 60. The higher the frame rate, the smoother the motion – this becomes very important during the capture of slow motion footage.

Gimbal stabilisers are 3 axis gyroscopic supports that cameras can be mounted onto. They use motors to counter the natural motion of the camera operator to create flawless, smooth, hand-held shots.
Illustrator (Adobe) is a powerful graphic design software application that we predominately use for asset creation when we produce an animated video. Because it works with vector graphics, we can create art work that scales endlessly – meaning we have flexibility in the animation stage without image degradation or pixelation.
Importing is the process of bringing source material into another program. For example, the transfer of footage into editing software, the transfer of assets into After Effects or the transfer of images into Photoshop.
ISO is a setting on our cameras that changes the light sensitivity. A low ISO would normally be used in daylight and situations with a lot of light, whereas a high ISO may be needed in darker environments. However, the aim is always to be on the lowest possible ISO as it provides the best picture quality – less noise and more sharpness.
Jump Cut is an abrupt or jarring transition – it disrupts the visual flow of an edit and draws attention to the transition where good transitions should be seamless. They can also be used creatively to provoke a reaction.
Lavalier/Lapel mic is a small microphone that clips onto the subject’s clothing.
Memory Card is a form of data storage used to store the digital information on our cameras.
Monopod is a tripod with only ‘one foot’. It’s a lot more mobile than a tripod whilst still providing support and stability for the camera than shooting handheld when filming on the fly.
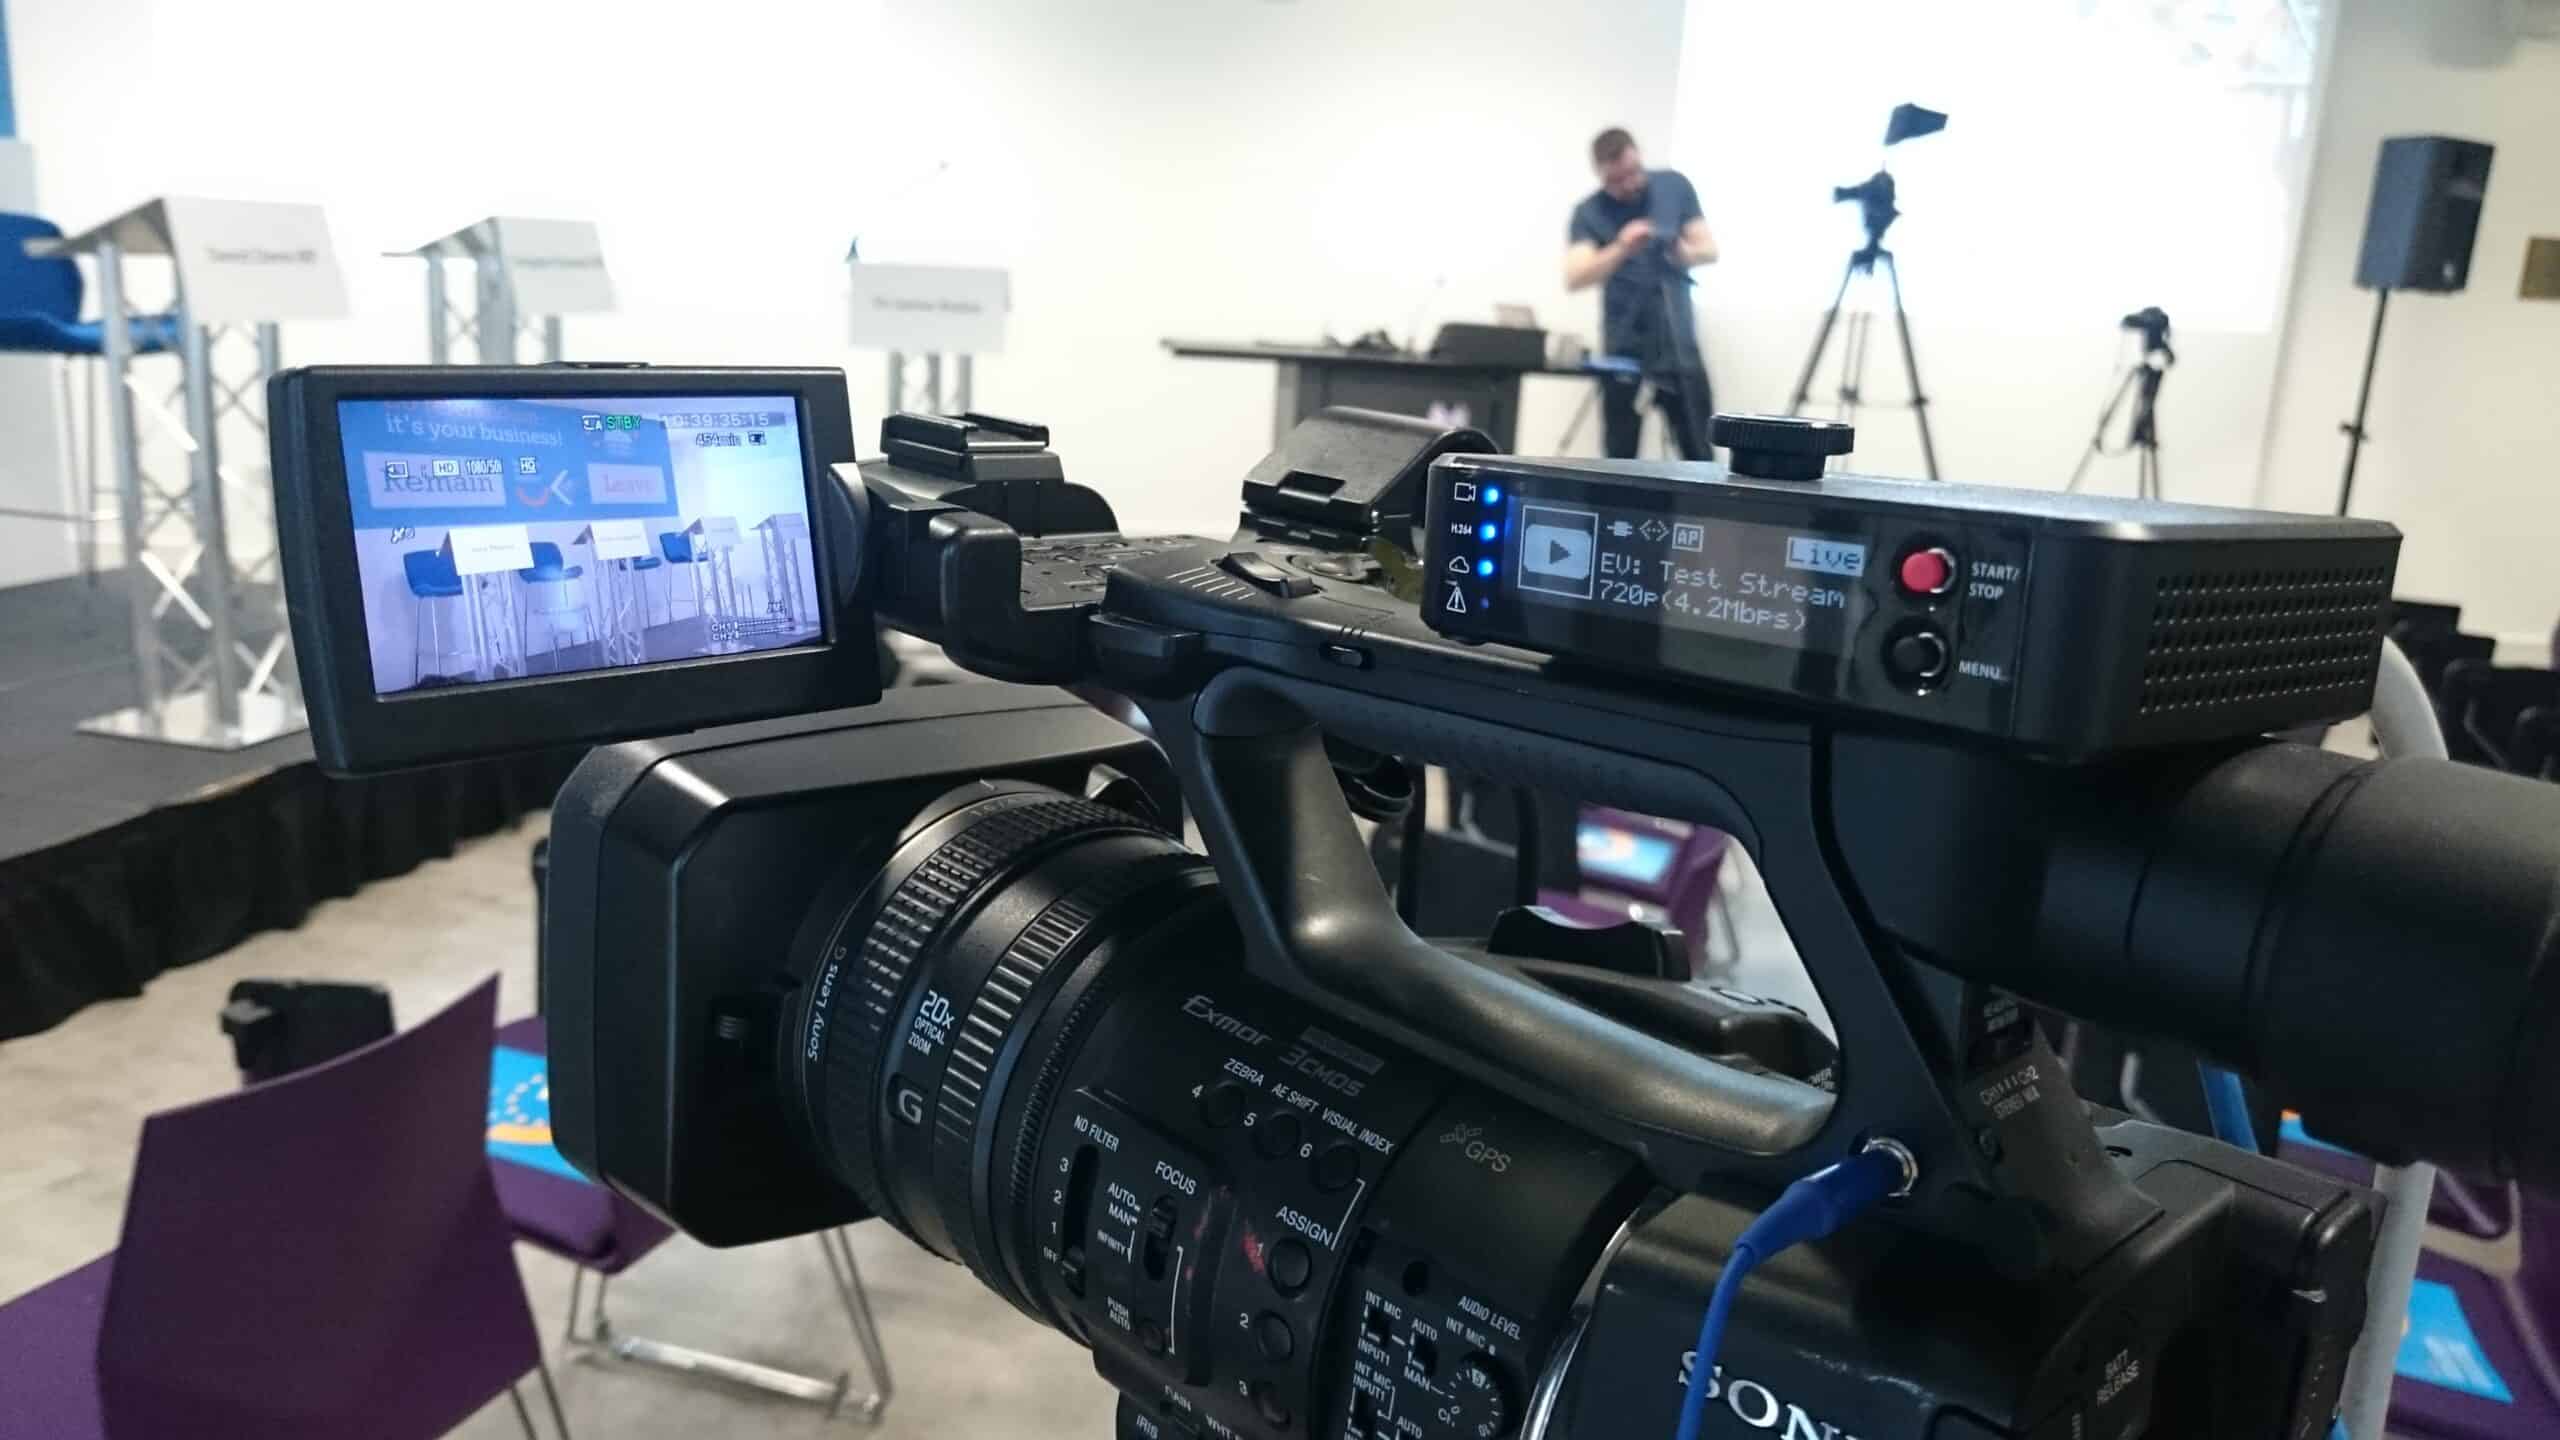
![]()
Motion Graphics are a type of animation that usually focus graphic design elements – like text, shapes, icons and logos – rather than illustrations or characters.
Motion tracking is the mapping of the movement of a subject in your video, to create a motion path that can be applied to graphics or text so that they appear attached to that subject.
Opacity refers to the transparency level of an element. Opaque/Solid = 100% opacity, Transparent/Invisible = 0% opacity, Semi-transparent/Translucent = 1-99%
Over the shoulder or OTS shots are framed over the shoulder of a subject, giving a pretty good impression of that persons perspective. It’s useful for filming dialogue scenes as you can see who is talking and who they are talking to.
Pan is a camera movement where the position of the camera is fixed, with rotational movement from side to side, like shaking your head in a “no” motion.
POV stands for Point of View, and is a shot type that goes one step further than OTS by making the camera the eyes of the subject. This means you are put right into the experience of that character and the experience for the viewer is very immersive.
Premiere is a piece of Adobe software we use for editing the videos. We import all the footage from the shoot, sort it, watch it, and select the best bits before stitching it together into the master edit. It’s also where we sync up the audio track, add music and colour correct.
Resolution is the number of pixels an image or video contains always displayed horizontal x vertical. We commonly use 1920 x 1080 (high definition) but you may also hear about 1280 x 720 and 640 x 480 (standard definition). Sometimes they are referred to by their vertical height as 1080p, 720p or 480p.
Rotoscoping is a technique that involves tracing around visual elements from your footage, allowing you to separate them from the background and put layers between them. The term originates from when rotoscope artists created visual effects by drawing on the film, one frame at a time to add something that wasn’t there when the footage was originally filmed.
Shot list is an extensive, detailed list of all the shots you want to include in your film which acts as a checklist on the shoot to increase efficiency and provide direction.

A Slate (also known as a clapper board) is something you will have seen on any behind-the-scenes footage you watch. It is a rectangular board with a hinged clap stick that makes a sharp, loud clapping sound. We use a slate to sync up the audio and video in the post production phase, as often we record the audio onto a separate recording device and not directly into the camera. It also provides a visual cue to the editor so they can see what scene and take the shot is without having to watch it.
Slider is a more portable version of a dolly track, the components of are rails and a carriage for the camera. They are engineered for maximum smoothness, and allow smooth camera movements side to side, front to back and pretty much any direction you can rig it safely!
Slow motion is the slowing of footage past the natural recorded speed of the movement. Because video footage is made up of a series of images – for example 24 frames per second – if you want to slow something down without it feeling jerky or sluggish you have to shoot at a higher frame rate.


Split screen shows more than one image in frame simultaneously – usually two but it can be more.
Stop motion is a technique of animations that brings in-animate objects to life – in its simplest form, a photo is taken, the object is moved slightly, another photo is taken and so on.
Storyboards are a series of drawings that visualise each scene of the video in a sketchy way to plan out the shots and create a clear tangible document for the client to see and the creative team to work from. The storyboard is a very important stage of our process!
The Stroke is the outline of a vector drawing, and can be measured in point weight. It is a vector path, as opposed to the void within the path which we refer to as the Fill.

Sync refers to the alignment of the audio track with the video track. We often record audio onto a specialised sound recorder rather than directly into the camera as they are better at fine tuning levels and can be captured at a higher quality. When we bring it into the editing suite it needs to match up with the video exactly so that there is no lag – something we all find infuriating when the TV isn’t working or a pop star is miming out of time!
Tilt is a camera movement where the position of the camera is fixed, with rotational up and down movement, like nodding your head in a “yes” motion.
Timelapse is a technique where each frame in a video is captured at a much slower rate than normal – for example one photo every 1, 2, or 5 seconds. When played back at normal speed, time appears to go by faster. This technique can provide amazing overviews of construction sites where a 3 month process is summarised in a 30 second video.
Tracking is a camera movement where the camera physically moves in relation to the subject, meaning that the spatial relationships change between the subject and its surroundings. We can track into a stationary subject or track with a moving subject using a dolly, slider or gimbal.
Wide angle is a shot type that frames a scene from a distance, so a person standing outside whole building is in shot opposed to the person from the waist up with only the window of the building in shot.
White balance is the process of capturing the correct colours for the available light you are shooting in – think back to colour temperature. It’s about ensuring the colour white is always white in the video footage. Our eyes and brains colour correct automatically, but cameras need a little help.
Hopefully that helps you get ready for your next video project, but if anything doesn’t make sense, we’re always here to help!